Putting together your wedding seating chart can be really stressful. For me, luckily, it wasn't. But that's not usually the norm. People generally agonize over it, making huge charts with names and sticky notes all over it.
It really doesn't need to be that complicated. I put together this post to show you just how easy creating your wedding seating chart can be.
How To Create Your Wedding Seating Chart
Decide if you are assigning seats or not.
You have three real options when it comes to your wedding reception seating. You can:
- Do first come, first serve.
- Assign tables and let people sit at any seat they want at that table.
- Assign people an exact chair at an exact table.
The first method is employed at really casual affairs. If your wedding is really casual (where you don't mind if most of your guests show up in jeans as long as they leave having had a good time), you can just let people sit wherever they want.
The third is just a little too rigid. Your guests can make their way to a table, find an open seat, and sit there. They will probably sit next to their date because that's what people do, but you don't have to choose the person on the other side of them.
The middle option is what most people go with, so that's what we're going to focus on.
Figure out how many people can sit at a table.
Ask your vendor how many people can comfortably fit at a table. For our venue, it was eight to ten.
Set up a Word document with "tables."
With ten being our max, I set up word document. I made columns and wrote "Table 1" and numbered one through ten under it. Each number represented a chair at the table.
Go through your RSVP list and assign seats.
I then picked up our RSVP cards to go through them. I had decided that Table 1 would be my immediate family and Table 2 would be Pete's. Other than that, each table was fair game.
The first RSVP card was Pete's sister and her husband. Two spots at Table 2. Next was my dad's sister and her husband. Two spots at Table 3. Next was my cousin (from my mom's side) and her husband. Two spots at Table 4. Next was two of Pete's dad's friends. Two at Table 5. Next was my brother and his wife. Finally. Two spots at Table 1.
I went through the RSVP cards one by one, assigning people to a table as they came up from my stack. I didn't push anyone to the side to get back to them later. I made sure to find them a seat and then moved onto the next RSVP card.
When a table got to ten, it was closed and time to open another table. No one else could sit there. No one could be added and no one could be deleted. It gets way too complicated if you try to move everyone around every time you try to sit someone else at a table.
Create escort cards.
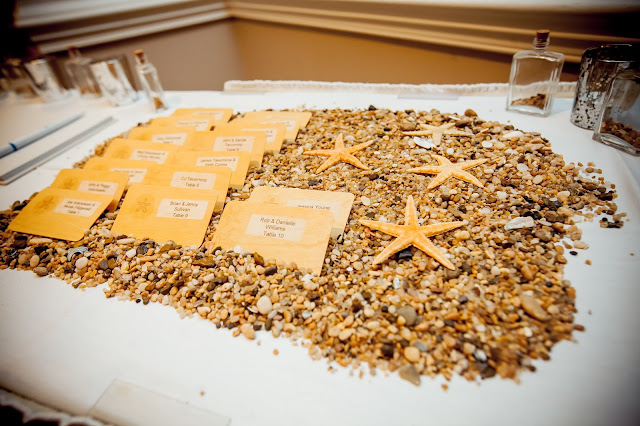
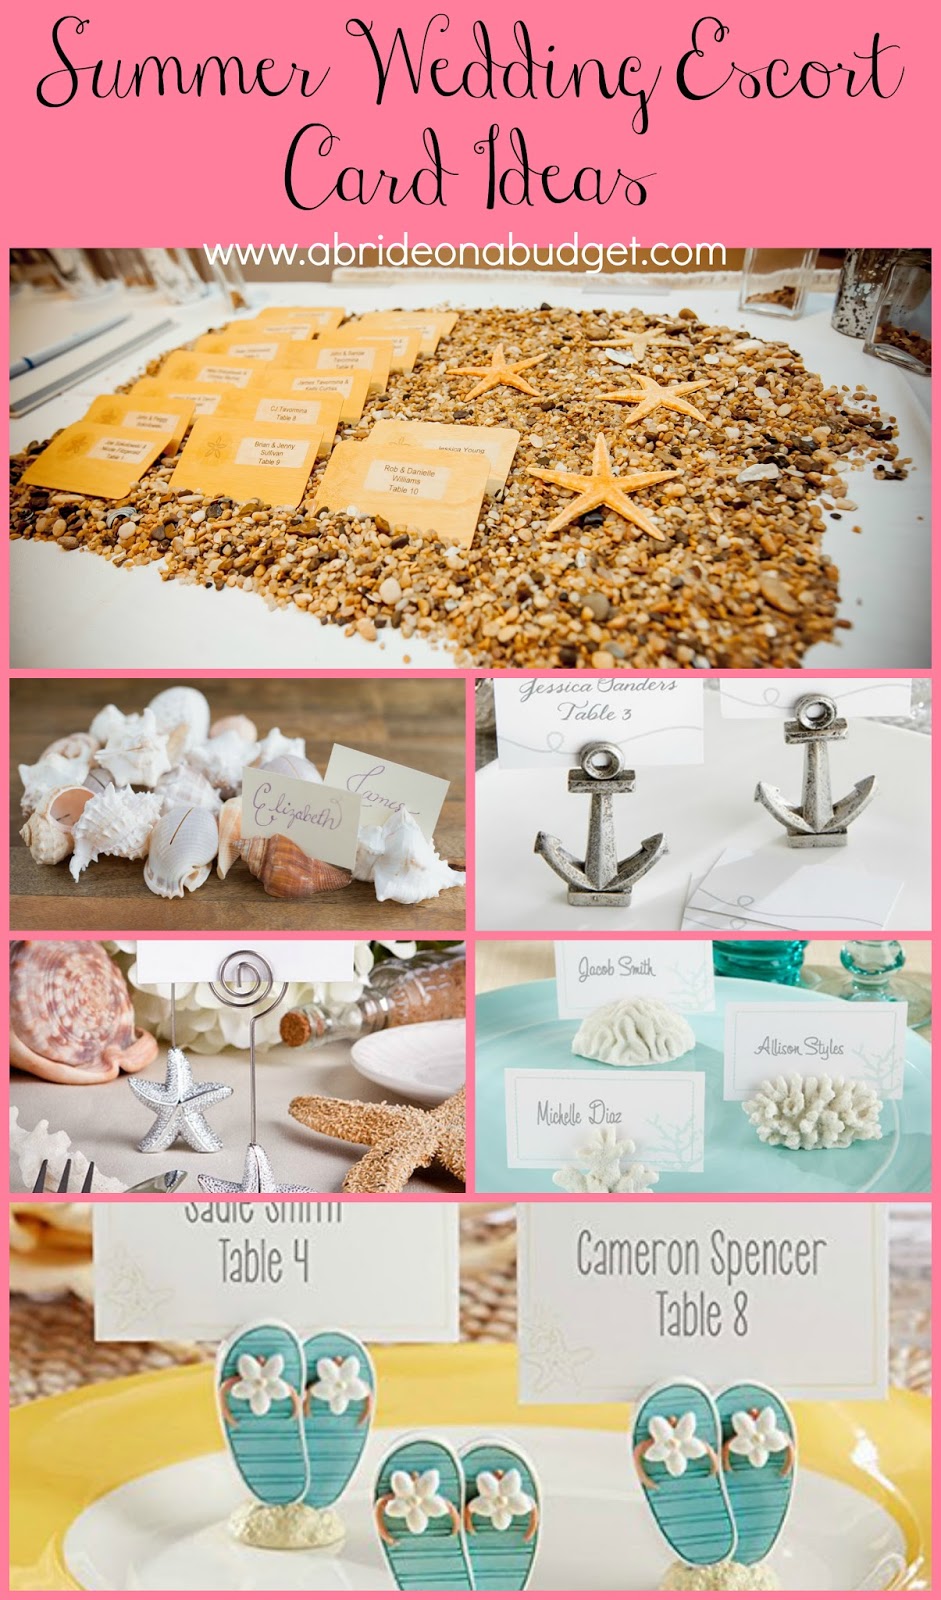
Once everyone has a table, create escort cards with the name and table number on them. Be sure to set them out alphabetically because that's how people have been taught to check for their names at weddings.
If you'd rather not do individual cards, you can create a big poster at the ballroom's entrance with everyone's name and table number.
Keep in mind that your guests won't really be sitting all that very long. They'll sit to have their meal but for the most part, they mingle. They'll be on your dance floor, getting drinks at the bar, and having fun in your photo booth. So don't stress too much over the seating chart and who is sitting where because those seats don't get very much use anyway. Spend your time thinking more about what food you're gonna have or what band you're gonna hire. Those decisions weigh more heavily on your wedding than who is sitting where.
BRIDAL BABBLE: Do you have any tips for creating a wedding seating chart?


