I'm a huge fan of edible wedding favors. If you ask my opinion about your wedding favors, I'll suggest something edible.
My second suggestion is something useful.
These DIY Wooden Coasters fall into the latter category, but they kind of go with the edible -- well, drinkable -- suggestion.
These are so incredible easy to make, but they are time consuming. So, if you already have your wedding date planned, start making these coasters now.
I say this because these are made from wood that we cut from trees in our backyard that had fallen down during a hurricane. And wood takes a long time to dry well enough to be appropriate for crafting.
Fresh cut wood needs to air dry for one year for every inch thick it is. These are cut about 1/4-inch, so we needed to air dry them for approximately three months before we could make these.
Of course, you can order natural unfinished wood slices online too if you don't want to go into your backyard and chop down trees.
DIY Wooden Coasters Wedding Favors
DIY Wooden Coasters Wedding Favors Supplies:
- Tree branch
- Miter saw
- Natural unfinished wood slices (omit the first two supplies, if using these)
- NuFun Activities Wood Transfer Paper
- Parchment paper (included with the NuFun Activities wood transfer paper pack)
- Printer
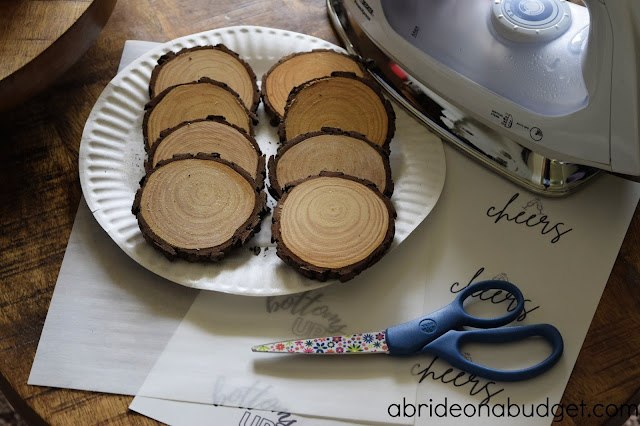
- Scissors
- Iron
- Spar urethane
How To Make DIY Wooden Coasters Wedding Favors:
To Make Your Own Wood Slices:
Start with a piece of freshly fallen down branch.
We have a lot in the backyard that fall during storms. Branches that have dried out due to time won't work because the wood will basically turn to dust when you try to cut them.
Use a miter saw to cut 1/4-inch slices of the branch.
Leave the wood slices in a warm dry area for about three months. Every few days, flip them so each side gets exposed to the air.
To Make DIY Wooden Coasters:
Measure the widest part of your coasters, omitting the bark around the outside. That's the largest you're able to make your design. The design will look better if you leave some room between the edge of the design and the edge of your coasters, so we suggest not making the design go all the way to the edge.
Now, this is the fun part. You can design your coasters however you want. You can add your wedding date and your names, but honestly, something a little more generic increases the chances that your guests will want to keep these.
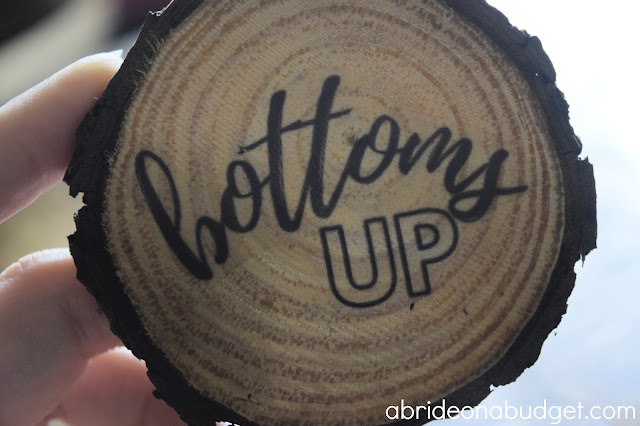
I made two different designs: "bottoms up" and "cheers". You could make them more wedding themed, like, "Let's toast the couple" or, if you're having a designation wedding, you could print an image of the state/country you're in with the words, "Take home a piece of (insert town here)" assuming, of course, your wood is actually from there.
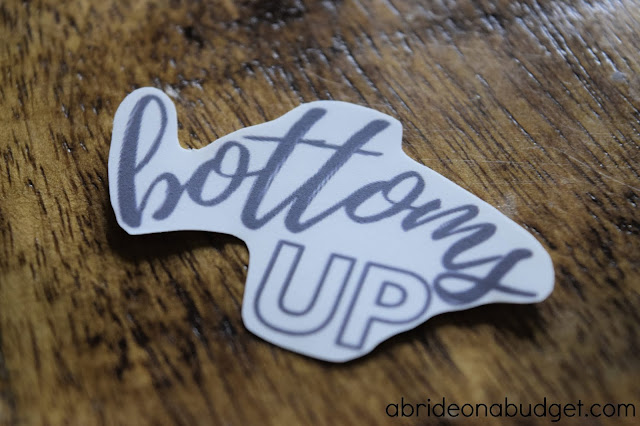
If you have some graphic design skills, you can design your coaster images using a free design website, like Canva.com. That's what I used. If you don't have any design skills, the graphic I created is below.
To use that, just right click it and save it to your computer.
Print the image on the NuFun Activities Wood Transfer Paper. You do not want to mirror the image when you print it. You want to print it as is.
If you've ever use transfer paper to make something like a homemade t-shirt, this is the opposite of how you print those. With that type of iron-on transfer paper, you mirror the image when you print it. Not with this transfer paper.
Cut your design from the transfer paper. You want to cut as close to the design as possible. There will be white remaining around the design, but that's okay.
Peel the liner from the back of the transfer paper.
Side note: This is a little difficult to do at first. I was able to separate them with a little pressure and my nails. It does start to get easier once you get the hang of it.
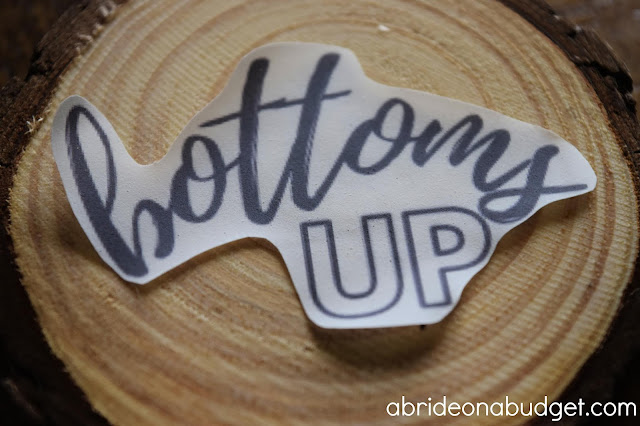
Place the coaster design exactly where you want it to lay on the wood slice you cut or natural unfinished wood slices.
Place the parchment paper on top of the design.
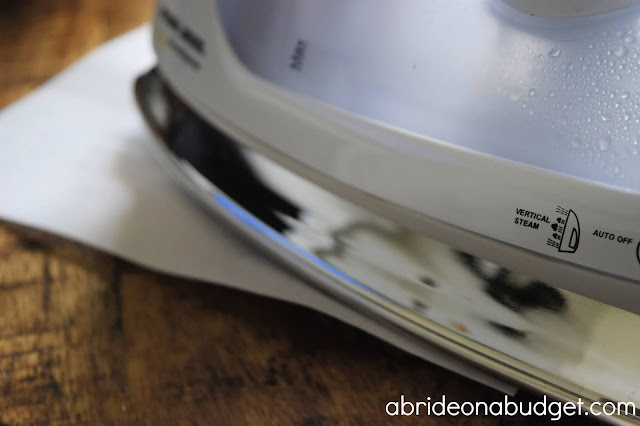
Use an iron to apply firm, even pressure on the parchment paper.
Alternating between holding the iron on top of the parchment paper and leaving it there is your best bet. You can slightly move the iron and back and forth over the parchment paper.
Remove the parchment paper to check on your design. The white around the design will be completely translucent when you're done ironing, leaving only the design behind. If there's still white remaining, keep ironing.
Set the coaster aside and continue until you've made all your coasters. Let them cool completely.
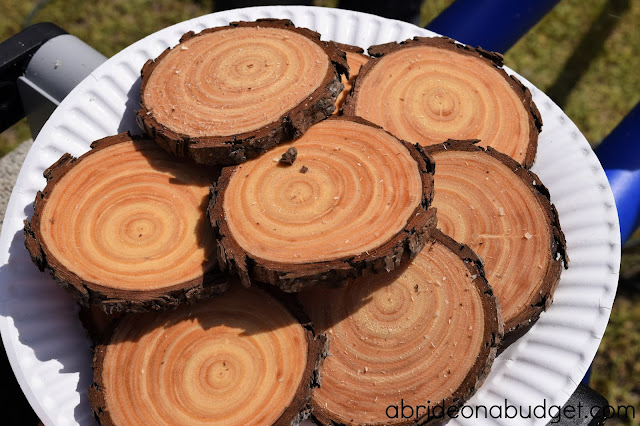
What's really cool is as the coasters get heated up, the rings from the wood get really defined. I think this is actually the sap coming through the rings, but I'm not an dendrologist, so don't quote me.
I know this for sure happens with the fresh wood you cut on your own, since that's what we used. I don't know for sure if it happens with the natural unfinished wood slices you purchase online. If it does let us know.
The definition that comes out looks amazing. I love how it adds a different dimension to the coasters. The backside of the coasters get this definition too, which is cool.
Bring the coasters outside and spray them with spar urethane. This will protect them from spills and condensation from glasses. Let them dry outside for an hour before touching them.
To Package Wooden Coasters As Wedding Favors:
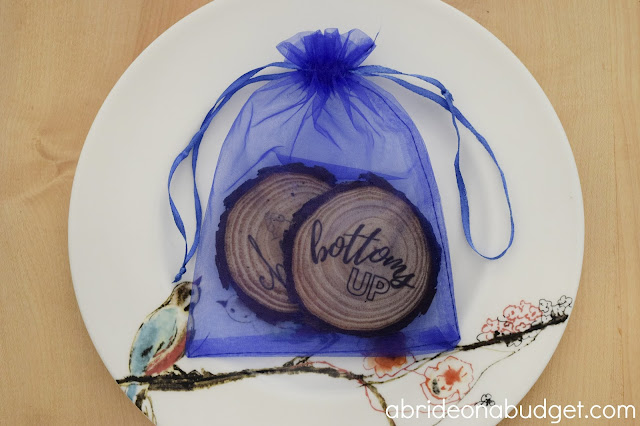
When you're ready to package these as wedding favors, place two coasters in an 4x6-inch organza bag. Make sure the color of your organza bags matches your wedding colors.
Set one organza bag on each place setting at your wedding.
Free Wooden Coasters Wedding Favors Printable:
If you want to use the printable we created, just right click the image above (it has no border so it will print properly).
It's formatted to be printed on an 8.5x11-inch sheet of NuFun Activities Wood Transfer Paper.
How much does it cost to make Wooden Coasters Wedding Favors?
Each pack of NuFun Activities Wood Transfer Paper comes with 25 sheets of transfer paper and 5 sheets of parchment paper. Each of our free printables has designs for eight coasters. So you can 200 coasters per pack.
If you put two coasters per organza bag, as we suggest, that's 100 wedding favors from one pack of paper.
As far as costs go, the pack of NuFun Activities Wood Transfer Paper is under $10. You can get 100 organza bags for about $7. And the wood, if you cut it like we did, is free. That means you can make 100 beautiful, handmade favors for under $20.
Amazing.
Purchase Wooden Coasters Wedding Favors:
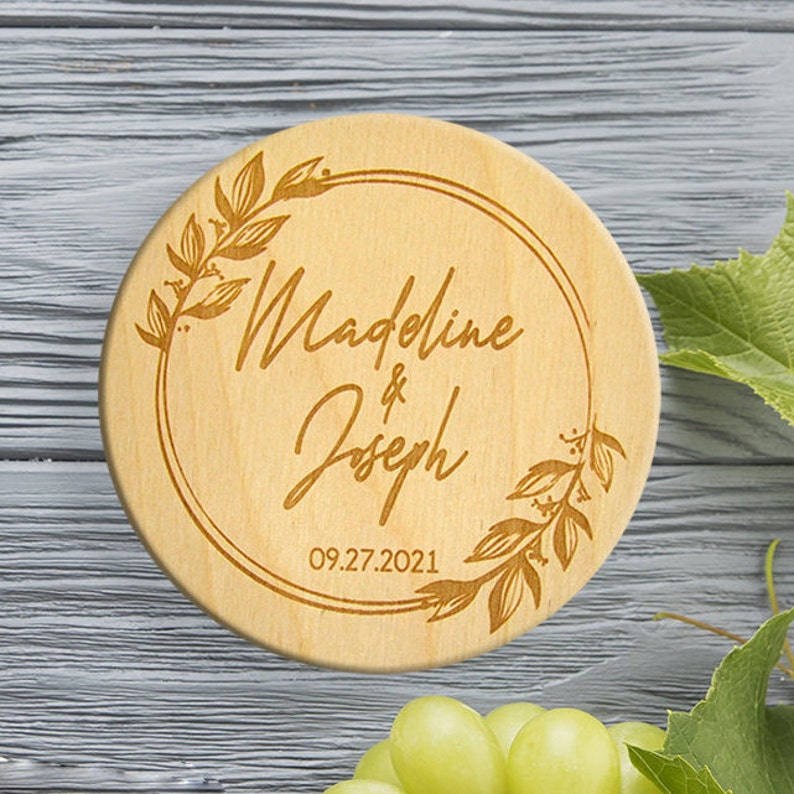
If you love the ideas of these wooden coasters as your wedding favors, but you don't want to make them yourself, that's okay. You can purchase wooden coasters wedding favors online.
Some of our favorites are below:
More DIY Favor Ideas:
If you're looking for more DIY favor ideas, we have a few you might love below:
BRIDAL BABBLE: What would you print on your DIY Wooden Coasters Wedding Favors?








No comments:
Post a Comment