DIY Instagram Coasters (made from your honeymoon photos)
I actually really like this idea as a sneaky gift too. You can scroll through one of your friend's Instagram photos, screen shot your favorite (since Instagram won't let you save someone else's photos), and give them something really special.
Plus, Christmas is coming up. And I'm not saying I made two sets of these for Christmas or anything, and I'm also not saying that these will look familiar in someone's stocking, but you can tell that's not me and Pete in the photos.
What You'll Need:
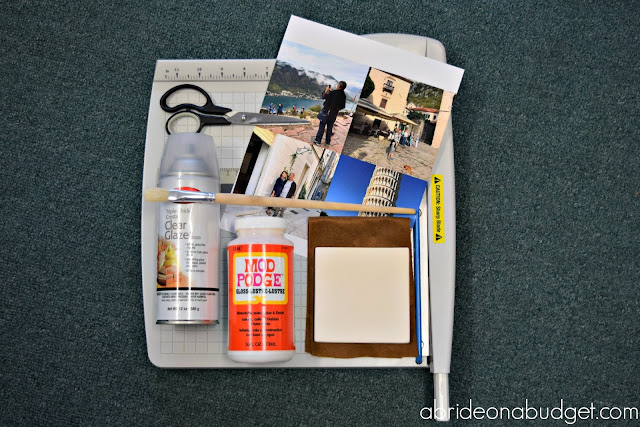
- 1 8x10 photo print
- 4 4x4 tiles
- Paper trimmer
- Scissors
- Mod Podge
- Triple Clear Glaze
- Paint brush
- Felt
What You'll Do:
First, you'll need to make the 8x10 photo print. I actually made mine when there was a free 8x10 offer.
You can make these DIY custom coasters using any set of photos you want, but I like the idea of making them from honeymoon photos. It just seems like a nice gift -- plus, honeymoons are usually to exotic locations, so the coasters will look amazing just because of that.
The quick DIY of that. Screen shot four Instagram photos that you want to use for these Instagram coasters. Crop the images so they are square, then send them to your desktop.
Head over to Canva.com and create a project thats 1600x2000 pixels (make sure the size you create is an 8:10 ratio. I think 1600x2000 prints better than 800x1000).
Upload your images and add them into your Canva project. Stretch or squeeze them until they are 800x800 (if you used a 1600x2000 size. If not, just make sure they go to the edge and are a 4:4 ratio).
Order the image.
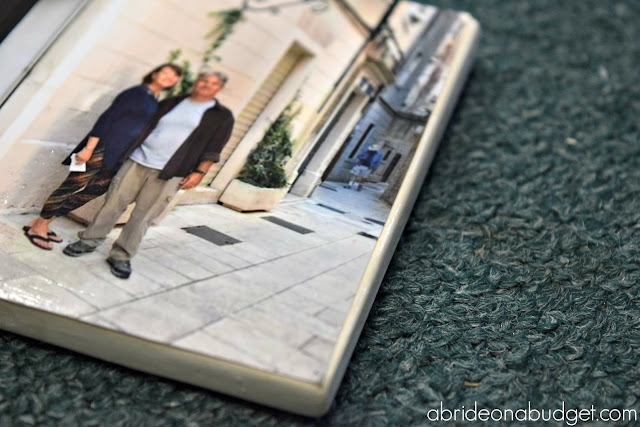
When it arrives, cut the four images using a paper trimmer. You want them to be just a little bit smaller than 4x4, so that part of the top of the coaster makes a boarder around your image. You'll be able to assure they stick down and stay down that way.
Paint a thin (but generous) layer of Mod Podge on top of the coaster.
Immediately lay your image down on top of it.
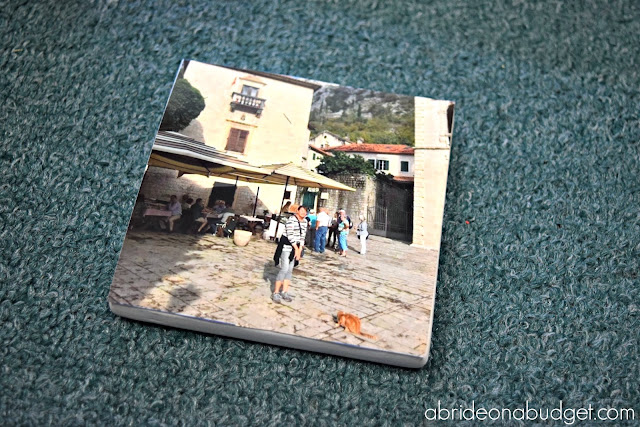
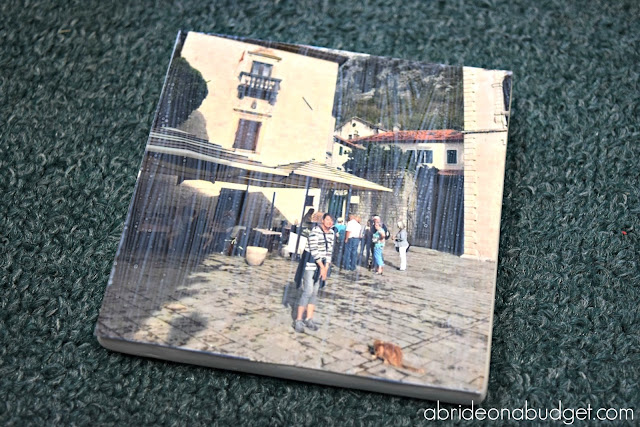
Paint a layer of Mod Podge on top of the image. Try not to let it get bubbly, but don't worry about it being cloudy. It will dry clear.
Let it dry 15 to 20 minutes, then paint another coat. Let that one dry 15 to 20 minutes and add a third and final layer.
While those are drying, cut small circles from the felt. When the third Mod Podge layer is dry, glue the felt bottoms to the coasters with the Mod Podge (or you can use regular glue here).
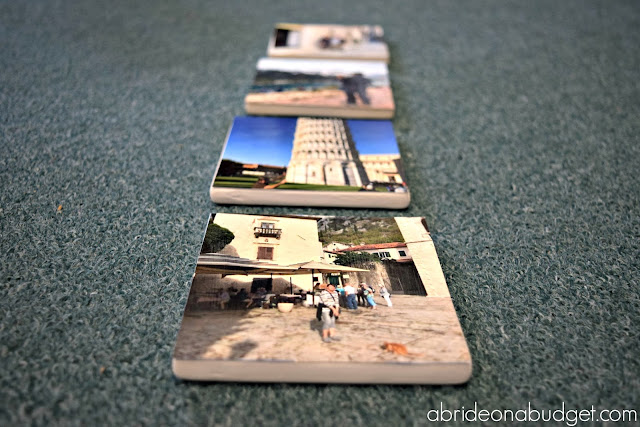
Bring them outside and spray all the coasters with the Triple Glaze Spray. Let them dry outdoors for 24 hours before even thinking about them again.
Tie them up in twine or ribbon and they're ready to go.
Now, small aside: A bit over a year ago, I spent the afternoon upcycling a table by spray painting it and Mod Podge-ing a photo on top of it. I liked it initially, but the photo kept pulling up at the edges and ended up getting bent. We still use the table in our living room, but it does look crummy and unprofessional.
That's what will happen to your photo coasters if you make the photo go all the way to the edge. The ends won't have anything to grip on to, the Mod Podge will have nothing to affix down (so you'll essentially just be layering it on the photo to make it shine, not for any actual purpose), and your coasters will fall apart eventually.
Because even if they appear fine at first, the edge will always stick up. And it'll get caught on something (someone's hand, the corner of the table, whatever) and they'll pull up. And that will ruin them.
If you leave just a little bit of an edge, the photo will stick to the coaster, the Mod Podge will affix it down, and the glaze will reinforce that bond. These will look professional and not like DIY Instagram Coasters. And honestly, I always think if you are going to DIY something, you don't want it to look like you DIY'd it. You want it to look like you purchased them.
BRIDAL BABBLE: What photos would you use to make these DIY Instagram Coasters?







No comments:
Post a Comment