I found the project on Pinterest and nearly immediately had to make them using our engagement party pictures. They're really easy to make an definitely something you can do with your wedding photos.
And, speaking of, if you have Amazon Prime, you can get 50 free 4x6 prints with the code OCT50PRINTS, while supplies last.
Homemade Canvas Prints
Like I said, these homemade canvas prints are easy to make. But, they're also easy to ruin. If you're storing them before hanging them, do not stack them on top of each other. The heat will fuse them together.
What You'll Need:
- 4x6 photos
- Scissors
- Mod Podge
- Sponge brush
- Pencil
- White paper
- Flooring sample
What You'll Do:
Take the flooring sample and turn it upside down on the paper.
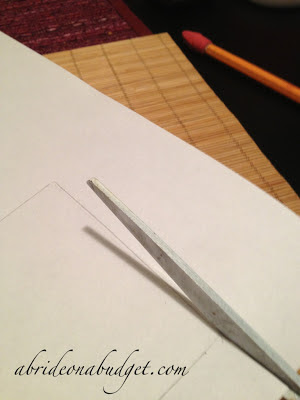
Trace the flooring sample. Use a pencil in case it slips and you need to start over. If your middle name is perfection, you can use a pen.
Mine's not. It's Mariko. It's my grandma's name and it's Japanese for Marie.
Cut out the box.
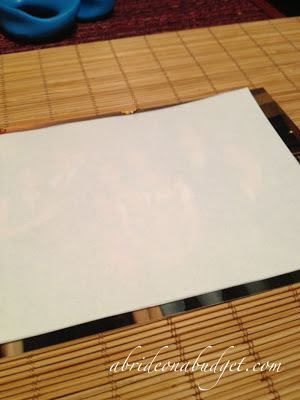
Lay the tracing on top of the photo. You'll be able to see the photo through the paper, so you'll be able to align the photo as you want. If you're having trouble, though, you can hold it up to the light and it'll help guide you. Or, use the trick we learned in elementary school: Tape the photo and paper to a window and the light will help you see through the paper. This won't work, however, if you are making this craft at night.
Cut the photo to the size of your tracing.
Hold the photo against the flooring tile to check the size.
If you weren't completely precise with your tracing, you'll end up with a bit of overlap. That's okay. You can just cut it. Or not. Whatever works.
Apply Mod Podge to the flooring sample. I did it to the shiny, finished side of the sample because the back is sort of coarse and porous and I wasn't sure how the Mod Podge would take to that.
Cover the entire tile. Make sure it's a thin layer. If you have globs, they can potentially cause air bubbles behind your photo and then you're gonna make a mess.
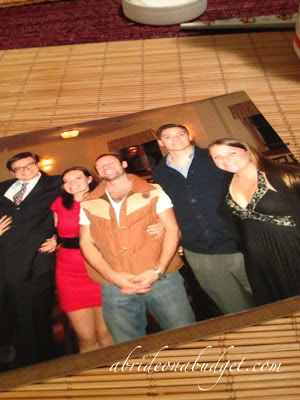
Affix the photo to the front of the flooring sample. Now, here's where it gets scary.
Cover the entire photo in Mod Podge. I'm gonna be honest: I wasn't sure about this. It looked fine with the photo stuck on there. I really thought about leaving it and ending the tutorial right there. I mean, I had never covered a glossy photo in Mod Podge before. I wasn't sure if I was going to ruin the photo or what.
But then I told myself if I did ruin the photo, I could just print another for less than a quarter, so it's worth a shot.
And, since I was diving right in, while I was waiting it to dry, I followed all the steps above and began working on a second photo.
They dried completely clear. My worrying was for nothing (as is often the case with my worrying).
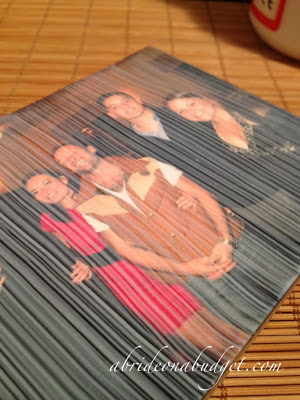
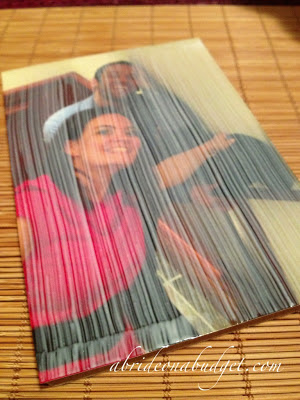
When they were dry, I applied a second coat of Mod Podge. On the one above, my first coat was up and down and my second was left to right. It created a crosshatch appearance when both coats were dry.
When you hold the photo on an angle, that's when you can see the texturing of it. Or you can just touch it and feel it, but since you can't touch it on the screen, holding it at an angle towards the light was the best I could do (it also makes me look like I'm in a witness protection program but giving a televised interview so my face had to be blurred, which is kinda funny).
The photos dried completely clear ... as expected. They're not glossy like they were before the Mod Podge applications, so it definitely looks like something was done to these.
They look fantastic. I'm absolutely in love with them. I really like how they came out, I love how they feel (both physically and the ambiance) and it really beats buying a few more frames and hanging photos on the wall. The truth is, we have a lot of photos in frames hanging, as most people do. And, eventually, I feel like frames are just harsh and uninviting, so I like the open airiness of these.
To hang them, just use hot glue to string to the back of these and hang them using a nail.
BRIDAL BABBLE: Do you think you could make these homemade canvas prints?






I love the name Mariko.
ReplyDeleteYou are very crafty (and very good at it), even way back here, two years ago, lol.
ReplyDeleteThanks for the tip about the Home Depot have floor samples for free. Can't wait to make some of these pictures for myself. Thanks for linking up at #HomeMattersParty
ReplyDeleteThese look great! I will have to make some for home decor! Thanks for sharing and linking up with me!
ReplyDelete